
Lovely Craft Piston Trap is a building game where you can use piston mechanics to make hidden paths, moving walls, and clever traps. If you are new to building, start with a small design and test it before adding more parts. This guide shares 10 easy piston trap builds that can help you learn the basics. The exact blocks and controls may vary by game version, so use the parts available in your game.
Related guides: Beginners Guide, Advanced Builds, Crafting Guide.
10 Easy Piston Trap Builds in Lovely Craft Piston Trap for Beginners
1. Hidden Floor Drop
Make a small floor section that opens when a player steps on a trigger. Place the moving part over a safe landing area, then cover it with blocks that match the rest of the floor. Keep the first version simple: build a short path, test the opening, and check that the floor closes again. This is a useful starter trap because it teaches you how a hidden floor can work.
2. Secret Wall Door
Build a wall with a narrow passage behind it. Use pistons to move a section of the wall and reveal the opening. Hide the control nearby, such as behind a block or around a corner. Test the door from both sides if your design allows it. A secret wall door is a good way to learn how moving blocks can hide rooms and entrances.
3. Narrow Hallway Trap
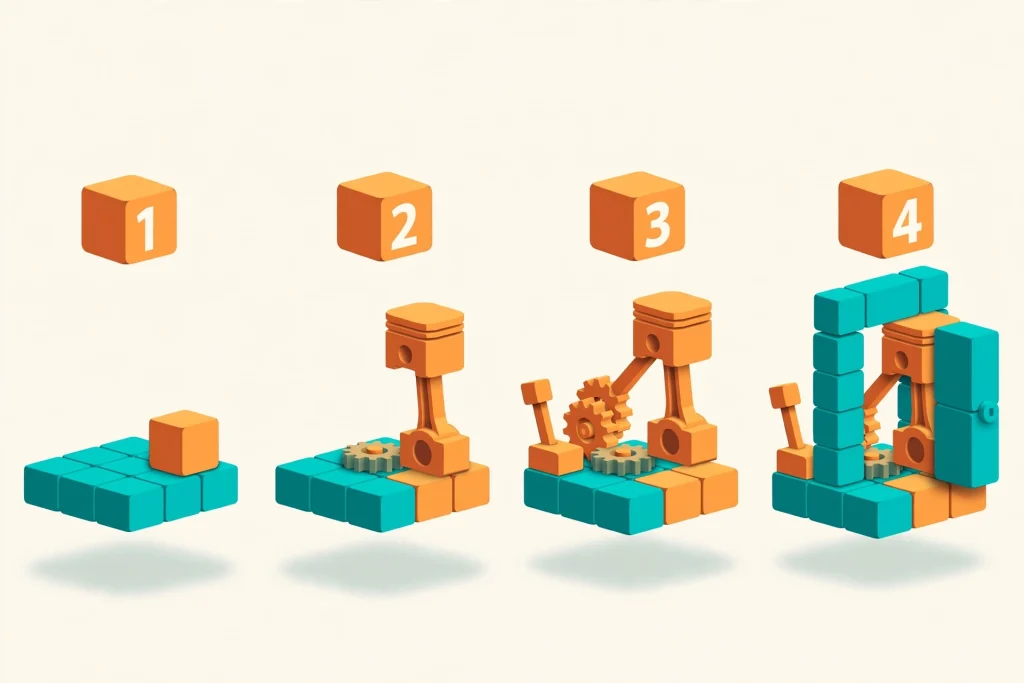
Create a short hallway with a movable wall at one end. When the trap activates, the wall closes the exit. Leave enough space for a player to walk through before testing the mechanism. Avoid making the hallway too long or adding too many moving parts at first. This simple piston trap can help you practise timing and build a clear path.
4. Fake Treasure Room
Place a reward or decoration at the end of a small room. Add a hidden floor section or moving wall near the entrance. The aim is to make the room look inviting while the trap remains out of sight. Keep the design fair and easy to reset. You can also use the same layout as a puzzle room by showing players a clue before they enter.
5. One-Way Passage
Make a path that looks open from the entrance but closes behind the player. A piston-powered wall can block the way back after the player crosses a marked spot. Build a second exit or a reset control if you want the area to be easy to escape. This design teaches you how to plan what happens before and after a trap activates.
6. Moving Bridge
Build a small bridge over a gap or a safe lower area. Use pistons to move one section of the bridge out of place when the trap starts. Begin with a short bridge and test how the sections move. Make sure the player has a safe place to stand nearby. A moving bridge is a fun way to use piston mechanisms without building a large room.
7. Pop-Up Barrier
Set up a barrier that rises from the floor or slides out from a wall. Place it across a doorway or a short path. This design works well as a surprise obstacle, and it is easy to change by adjusting the barrier’s size or position. Test it from the player’s point of view to make sure the moving blocks do not get stuck.
8. Split-Path Puzzle
Create two paths that look similar. One path can lead to a safe room, while the other activates a hidden barrier or floor. Add a clue, such as a different block or a sign, to help players work out which path to choose. This beginner trap build combines simple building with a small puzzle, so players have something to notice and think about.
9. Hidden Room Reveal
Build a small room behind a wall or beneath a floor. Use pistons to move the covering blocks and reveal the space. You can place decorations, a work area, or an in-game reward inside. Keep the hidden room small while you practise. Once the opening works reliably, you can make the room larger or add another secret entrance.
10. Resettable Practice Trap
Make a basic trap that you can activate, test, and reset. For example, use a short passage with a movable barrier and a control that returns it to its starting position. A resettable design saves time when you are learning because you can try again without rebuilding everything. It also helps you spot problems with the order or timing of the moving parts.
Tips for Building Your First Trap
Start with one piston action at a time. If a build uses several moving blocks, test each part before connecting the full design. Use a clear layout so you can see where every part goes. Also, leave room to reach the controls and make repairs.
Try your build from the same direction as a player would. Check whether the trap is easy to notice, whether it activates when expected, and whether the player has a safe way out. If the mechanism does not work, remove extra parts and test the basic design again. These small building tips can make your beginner trap builds easier to understand and improve.
You can also save a copy of your world before testing a large design. That gives you a version to return to if a change causes a problem. Once a simple trap works, add decoration, another path, or a second moving part. Build slowly so you know which change affects the result.
Conclusion
These Lovely Craft Piston Trap ideas give beginners a simple way to practice hidden doors, moving floors, barriers, bridges, and secret rooms. Pick one design, build it with the parts available in your version, and test it before adding extra features. Small piston trap ideas are easier to fix, and they help you learn the game’s building system step by step.
FAQs
About The Author
LovelyCraftPistonTrap.com is a fan-run guide site for Lovely Craft Piston Trap. Its guides are written from the developer’s official patch notes and from player reports, with confirmed and community-reported details labelled separately. This site is not the game’s developer or official website.