
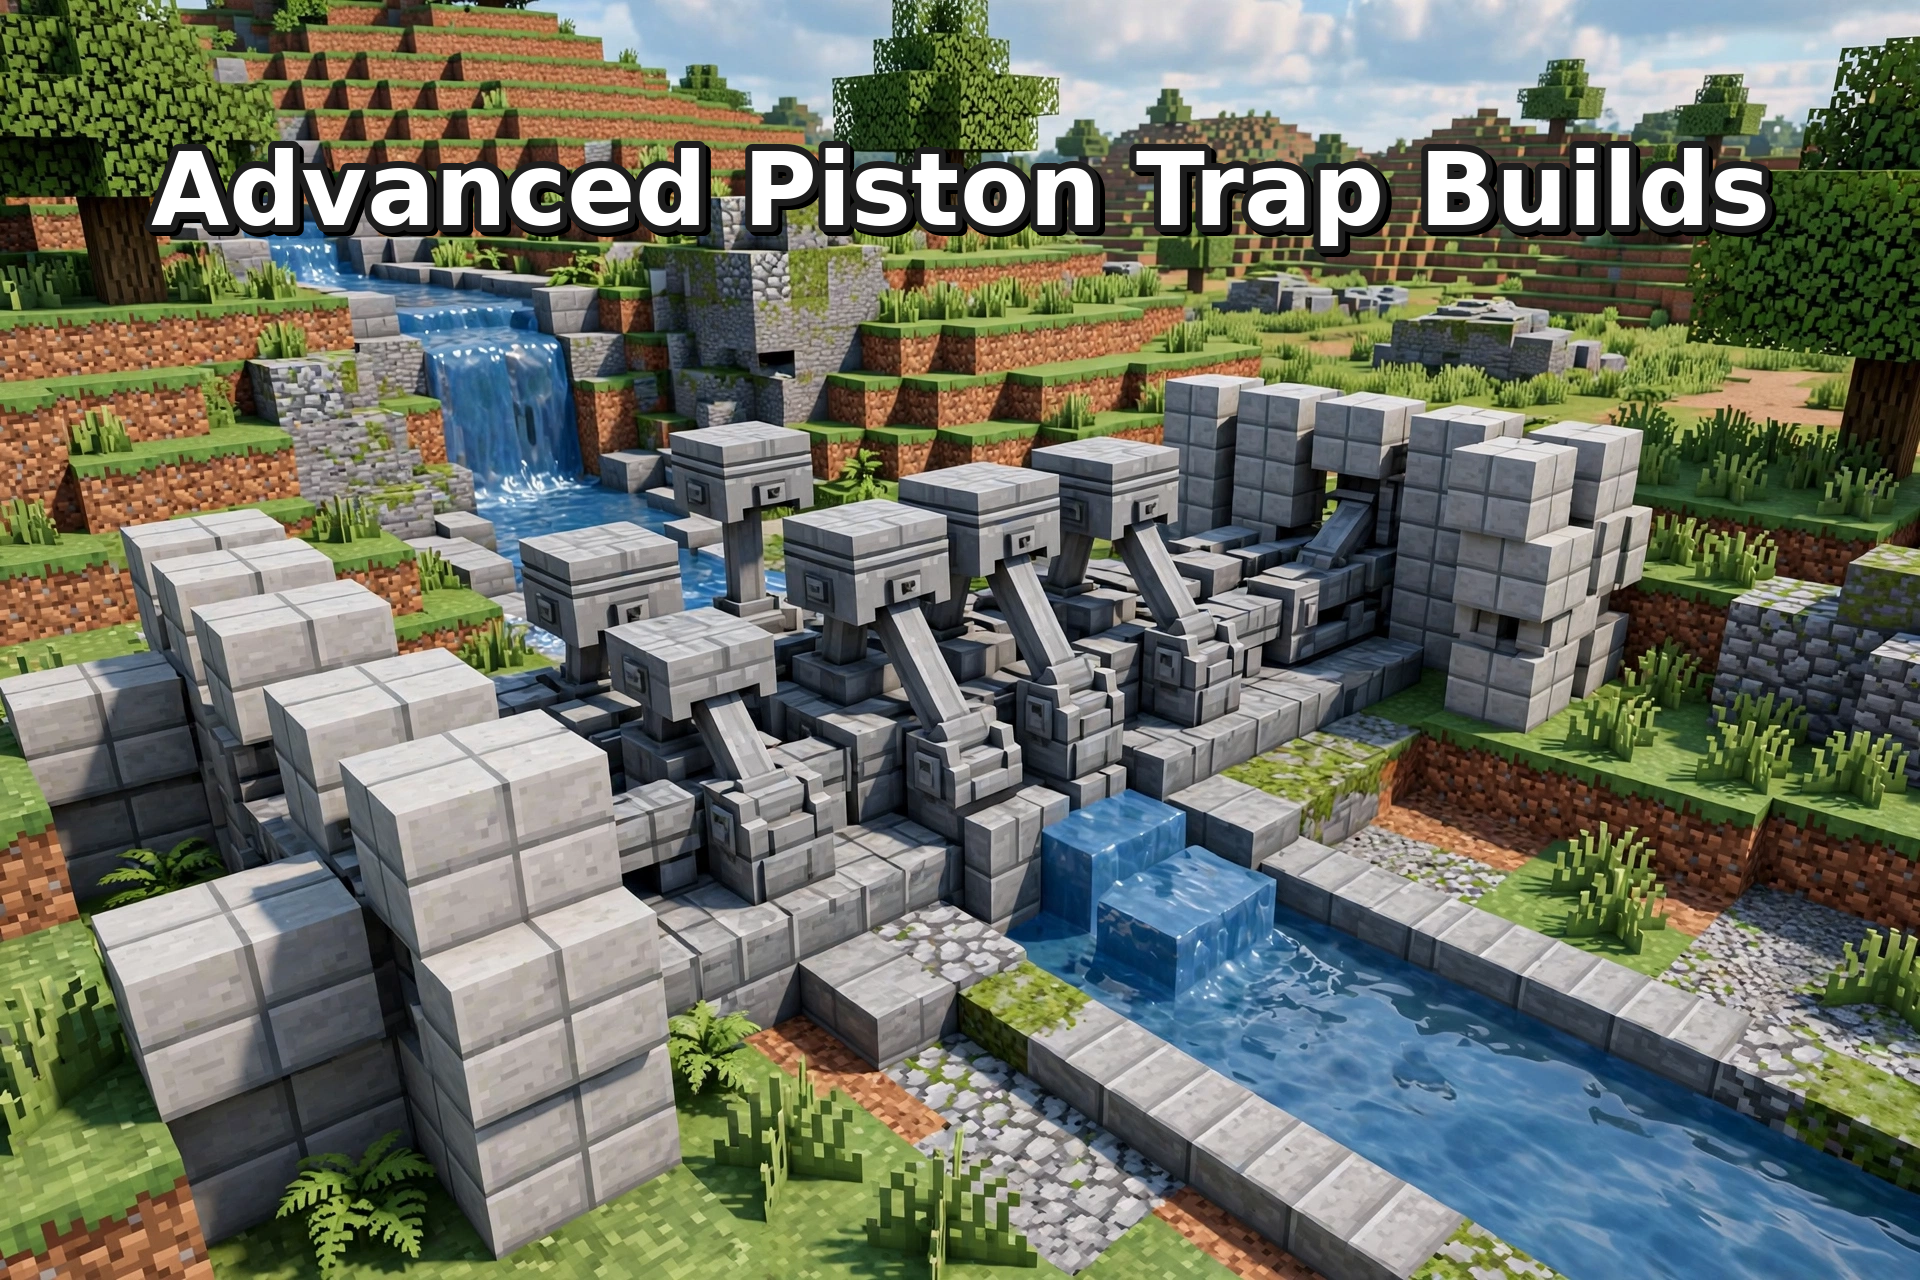
You have learned the beginner builds. Your simple traps work, and now you want more. This guide gives you 10 advanced piston trap builds for Lovely Craft Piston Trap. These designs use auto mode, multi-piston timing, moving walls, and flood traps. Each one is a player-made idea. Use them as a starting point and shape them to fit your own base.
Related guides: Beginner Builds, Crafting Guide, Beginners Guide.
What Makes a Build “Advanced”
Three things separate an advanced build from a beginner build.
Piston auto mode. The devlog confirms that auto mode lets a piston activate at any height. This gives you freedom. You can place your trap exactly where you want instead of working around the game.
Timing. Advanced builds use many pistons, and they fire in a sequence. One piston waits for another. Good timing makes the trap smooth. Bad timing breaks it.
Layered design. An advanced trap often combines a wall, a flood, and a push in one build. Each layer does one job, and together they work better than any single part.
If you keep these three ideas in mind, every build below will make more sense.
The 10 Advanced Builds
1. Double-Wall Crusher
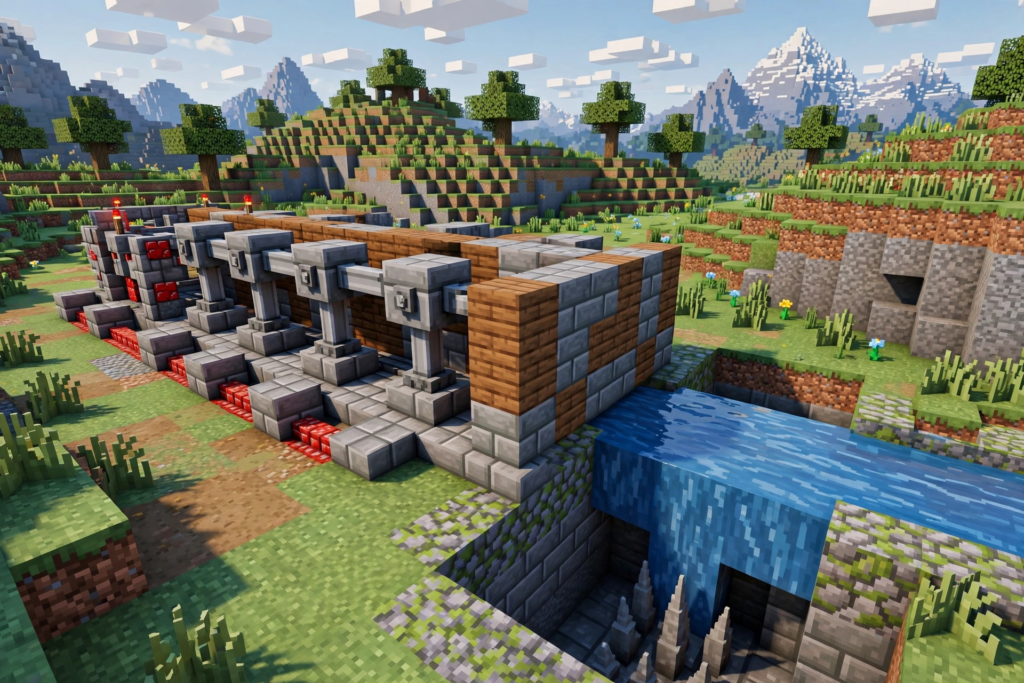
This design uses two moving walls in a sandwich shape. The mob walks into the gap, and the walls close from both sides. It works best in a narrow space, because the mob has little room to escape. Build the walls so they move at the same time. If one wall is slower, the mob can slip out.
2. Flood-and-Push Combo
Here, water carries the mob forward, and push pistons finish the job. The water does the long movement, so your pistons only need to act at the end. This saves effort and makes the trap more reliable. Test the water flow first, and add the pistons after.
3. Auto-Mode Pitfall
This is a drop trap that runs on auto mode. Because auto mode activates at any height, you can place the pit wherever suits your base. The mob walks onto the trigger point and falls. Keep the trigger simple, and the trap will stay easy to repair.
4. Moving Wall Maze
Moving walls change the path while the mob walks. The mob loses its way and ends up in the spot you chose. This build rewards patience. Map the walls on paper first, because a small mistake can open a shortcut.
5. Timed Gate Sequence
Gates open one after another, and each piston waits for the one before it. The mob moves through the gates in order and ends at the final trap. Timing is everything here. If one gate opens too early, the whole sequence fails.
6. Hidden Floor Drop
The floor looks normal until the mob steps on it. Then it drops straight into a pit. The idea is simple, and it works well in narrow halls. Make the hidden floor match the blocks around it, so nothing looks different.
7. Two-Way Push Corridor
Pistons push from both sides of a corridor. The mob has nowhere to go except forward. This design is good for guiding a mob toward a trap at the end. Place the pistons in pairs so the pushes stay balanced.
8. Water Channel Trap
A water channel guides the mob to one spot. You do not need to chase it. Set up the flow, and let the water work. This is one of the easiest advanced builds, so it is a good first step if you feel nervous.
9. Layered Base Defense
Build two or three layers around your base. Each layer uses a different mechanic. A mob that gets past the first layer meets the second. This build asks for more space and more materials, but it protects your base well.
10. Compact High-Speed Trap
This design is small and fast. It fits in a tight space and resets quickly, which makes it ideal when room is limited. Keep the parts close together, and cut anything that does not help the trap work.
Materials and Planning Tips
Good planning beats good luck. Follow these steps for every build:
- Draw the design on paper first. A sketch shows problems before you place a single block.
- Count your pistons. Know how many you need before you start.
- Build a small test version. Try it on one mob before you build the full trap.
- Change one thing at a time. If you change many parts at once, you cannot tell what fixed or broke the trap.
Planning feels slow at first. But it saves you from rebuilding the whole trap later.
Common Advanced Build Mistakes
Wrong timing. One piston that fires too early can ruin the sequence. Slow down and test each step.
Forgetting the auto mode height. Auto mode activates at any height, so check where your piston will fire before you place it.
Building before testing. Many players build the full trap and then find a flaw. Always test a small version first.
Making the trap too complex. More parts mean more things that can fail. Keep each design as simple as it can be.
Conclusion
Advanced builds are about combining simple parts well. Use auto mode for freedom, plan your timing, and layer your designs. Start with an easier build like the Water Channel Trap, and work up to the Layered Base Defense. Test often, fix one problem at a time, and your traps will get better with every try.
FAQs
About the Author
LovelyCraftPistonTrap.com is a fan-run guide site for Lovely Craft Piston Trap. Its guides are written from the developer’s official patch notes and from player reports, with confirmed and community-reported details labelled separately. This site is not the game’s developer or official website.